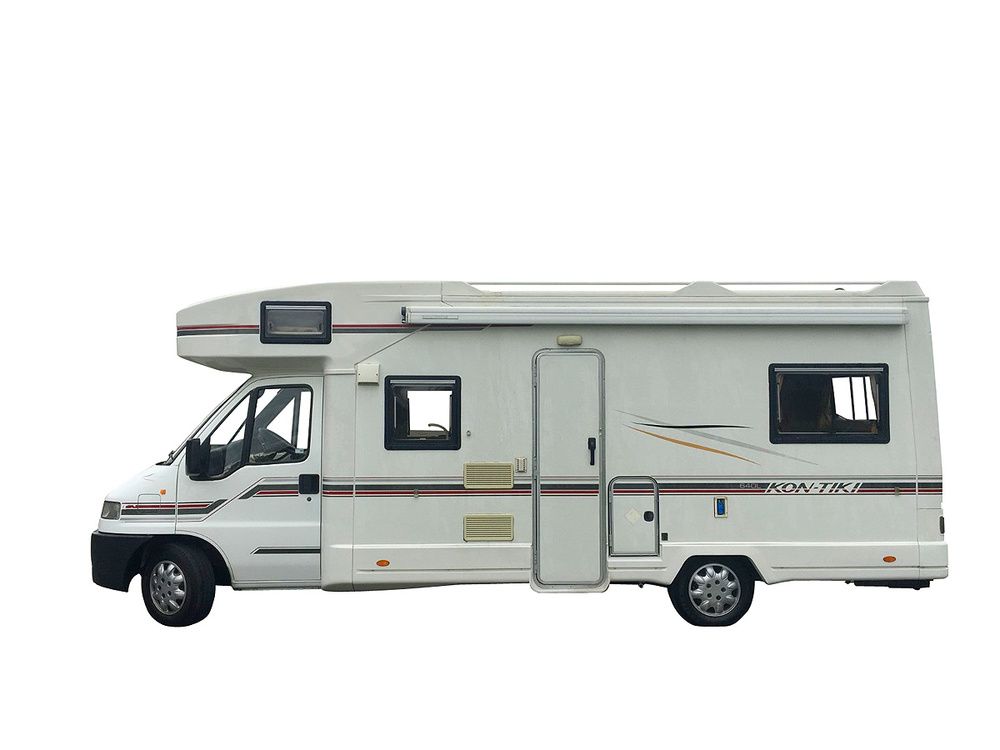
This month, Studio SOS takes on a unique challenge: modifying a motorhome for use as a mobile recording studio!
Paul Thompson is no stranger to travelling musical adventures: he earned a place in the Guinness Book Of Records for driving his battery-powered milk float all the way from Norfolk to the Outer Hebrides and back, using the float both as a stage for musical performances and as somewhere to sleep. Given that it barely makes 30 miles on a full charge and that it travels at around 10 miles per hour, that must have been some trip! Paul has written a book about his Floating To The Fringe Tour, which was funded by Arts Council England and culminated with a string of shows at the Edinburgh Fringe. He is also planning to turn the story into a film featuring his own music. A blog of the tour can be found on his web site: www.paulsmusic.co.uk.
Though Paul still has the milk float, he rather liked the idea of driving around to beautiful locations in greater comfort, recording new songs inspired by his surroundings. Having a mobile home and studio that he could use whilst studying for an MA in songwriting seemed like a good solution, so after buying a suitable motorhome he asked if Sound On Sound could help him adapt it to his needs — we were quite relieved that he didn’t want to put the studio in his milk float!
On The Road Again
 Before: this nook was the area Paul had set aside for his studio.The catch was that when the mobile studio wasn’t in use, it shouldn’t affect the motorhome facilities in any significant way — despite the fact that it needed to accommodate a 61-note keyboard and three guitars. Fortunately the rest of the system was fairly compact, comprising a PC laptop running the latest version of Cubase, a Universal Audio Apollo Twin, a pair of Genelec 8010a powered monitors, a couple of good-quality microphones and the odd USB hub or two. Fortunately Paul was happy to drive up to my home in Malvern where I have a useful selection of woodworking tools in my basement, as it was clear from the outset that most of this job would be about construction rather than the usual acoustic treatment or wiring issues.
The studio was to go in the rear lounge/bedroom section of the vehicle with the gear set up below the window on the side wall. This location placed a small corner unit with an angled work surface to the right and a sofabed to the left with an eight-inch-wide box section running between them a few inches from the floor.
 Before arriving, Paul had bought a pair of wall-mounting speaker stands online, but when they turned up it was obvious that they were far too large to accommodate his petite Genelec 8010a monitors. The solution was to remove the large base plate, dismantle the two swivel arms, cut the wall plate in half and then reassemble using just one arm terminating in the swivel bracket that originally held the base plate. That worked out well in that it allowed us to hang the speakers at the right height from the underside of the motorhome cupboards, but we had to find some way to fix the speakers to the swivel bracket at the end of the arm.
The solution arrived at was to make a small plate out of a scrap of 8mm laminate flooring that could be secured via a bolt at its centre to the swivel fitting and via two further holes, bolted through to the rear mounting points on the Genelec speakers. If I’d had any suitable-width aluminium strip at hand that would have been preferable, but the laminated MDF flooring proved to be perfectly strong enough for the job.
 The original speaker mounts were far too large — but a bit of jury-rigging yielded a usable system.Holes were drilled in the underside of the cupboard, then the speaker mounts were hung in place using M4 nuts, bolts and washers. The speaker mounts were angled in slightly and could be adjusted vertically via the swivel fitting. To prevent the screw threads working loose, I used a smear of superglue on the bolt threads — a good wrench with a spanner can usually break the seal if you need to undo them. I know I really should have used my Loctite thread sealer — but could I find it? Nail varnish also works fairly well as a thread sealer when you’ve nothing else to hand.
Car Keys
So, what to do about that long keyboard? After a little head scratching I suggested that I build a removable work surface that could be attached at one end to the corner unit, level with its existing work surface, and supported around two thirds of the way along its length by a folding leg that would rest on the box section. The far end would hang over the sofa but could be supported at the wall side by screwing a doorstop to the wall. It would be long enough to accommodate his keyboard with a little room to spare — so we got sawing. As luck would have it, that would leave just enough space to store one of Paul’s microphone camera cases under the end of the work top.
 Paul measures the space for the desk/keyboard support.I built the worktop from half-inch exterior-grade plywood, strengthened along its front edge by a strip of oak. The folding leg was made from what was left of the speaker stands — two of the tubular box sections were bolted together to create the correct leg length, and then attached to an unused half of a wall plate, which would allow the leg to swivel. This arrangement allowed the leg to fold flat behind the worktop when not in use and saved me having to fabricate something out of wood.
 Fixing the worktop to the corner unit in a way that would be secure yet easy to remove required some thought, but I eventually settled on screwing a protruding wooden rail to the end of the corner unit upon which the worktop could rest. This was treated with coloured wax to help it blend in. An 8mm hole was then drilled through the back of our new worktop and down through the supporting rail through which a locating pin, made from a sawn-off 7mm bolt, could be dropped. To prevent the worktop from tipping, I then added another strip of wood underneath the worktop that butted up against the support rail screwed to the corner unit, then fixed another strip of wood over it wide enough to protrude below the support rail, almost like the runner of a drawer. This meant the worktop had to be slid into place from the front, then locked in place with the locating pin. This arrangement actually worked really well, providing support for the keyboard and leaving enough space on top of the corner unit for the laptop and audio interface. A notch was cut in the back of the new worktop to allow cables to pass though.
 Once the tabletop was confirmed to fit the space, Paul glued a layer of felt to the top to act as a non-slip surface for the keyboard.Once I was sure everything fitted properly, I covered the worktop in thin felt (of the type often used as flooring for car boots) using spray carpet adhesive to fix it. I started with an oversize piece, glued it in place working from one end to make sure there were no wrinkles, then trimmed the edges using a sharp box-cutter knife. This looked tidy and also provided a reasonably non-slip surface for the keyboard. Best of all was that the keyboard could be stored in its bag when not in use with the worktop alongside, behind the front seats. The interface, computer and cables could be stowed in one of the wall cupboards so the only permanent fittings were the speakers. Self-adhesive cable tidies were used to take the input feed to the left speaker above the window. Where the three guitars go is Paul’s problem to solve!
 The folding leg was made using leftovers from the oversized speaker mounts.So far so good, but Paul wanted to be able to record vocals too, and there was really no space for a conventional mic stand. I showed him the table-mounted mic arm I use for recording podcasts and he thought it looked practical, so we tried it out clamped to the side of his cupboard where it supported his AKG 414 perfectly. This arrangement meant the mic was mounted sideways rather than being held vertically, but that isn’t a problem. As these stands are only £7 each when ordered online, Paul offered to buy mine and I ordered another.
Happy Camper
 Paul Thompson enjoys his new mobile recording studio.Paul wired up the studio using a power distribution strip resting on the box section below the worktop. Then we powered up the system using a mains extension cable running from my house — Paul usually stays at caravan parks that have mains electricity hook-ups. Everything worked perfectly, though we both felt that the little Genelecs were perhaps being over-generous at the low end. Setting their rear panel DIP switches to drop the lows by 4dB helped, but I suggested to Paul that he really should double-check all his mixes on headphones and, where possible, on other systems, as using what are essentially desktop monitors in a fairly confined space is inevitably a compromise.
That said, the amount of soft furnishings in the space, combined with the effects of the curtains, produced a well-controlled sound that was certainly workable enough for tracking. After a tidy up and a short photo session, Paul drove his studio back home — and hopefully towards more musical adventures!
Reader Reaction
Paul Thompson: "I was hugely impressed by Paul’s inventiveness and attention to detail, in what was quite a challenging remit; to accommodate all of my music gear in a small recording and mixing space, allowing it to be set up and fully functional when my motorhome is parked, and easily packed away whenever I get on the road. That is exactly what Paul has achieved, cleverly adapting available materials to work perfectly in the available space, such as reusing part of the speaker mounts as a folding table leg — absolute genius!
"As well as being a true gent, Paul is a fountain of knowledge about recording, and I learnt an incredible amount from us spending the day together. It’s such a pleasure to finally have my music equipment set up properly again, and having returned yesterday from the Studio SOS, I’ve spent the whole day (when I should have been doing research for my MA!) playing the keyboards and gazing out of the window at the hills beyond. Thanks so much to Paul and SOS magazine for making it possible!”
The Studio SOS Book
 Using case studies to illustrate common problems, this 306-page book brings together a wide range of real solutions that are both affordable and easy to implement.
Written by Paul White, Hugh Robjohns and Dave Lockwood, the SOS team impart easy-to-understand, organised troubleshooting advice on a range of topics. Learn how to rid yourself of monitoring problems so you can accurately hear what you’re mixing, how to enhance the sound of your recording space, and how to perfect your instrumental and vocal recordings. Spend less time re-recording and mixing, simply by improving your room with advice from the guys who have seen it all when it comes to make-do small studios.
Get your copy from: www.soundonsound.com/shop/books/studio-sos-book